Made one at a time
Inside the Workshop
Traditional materials, careful construction and a little modern practicality. A look behind the scenes at Queensbury Cues.
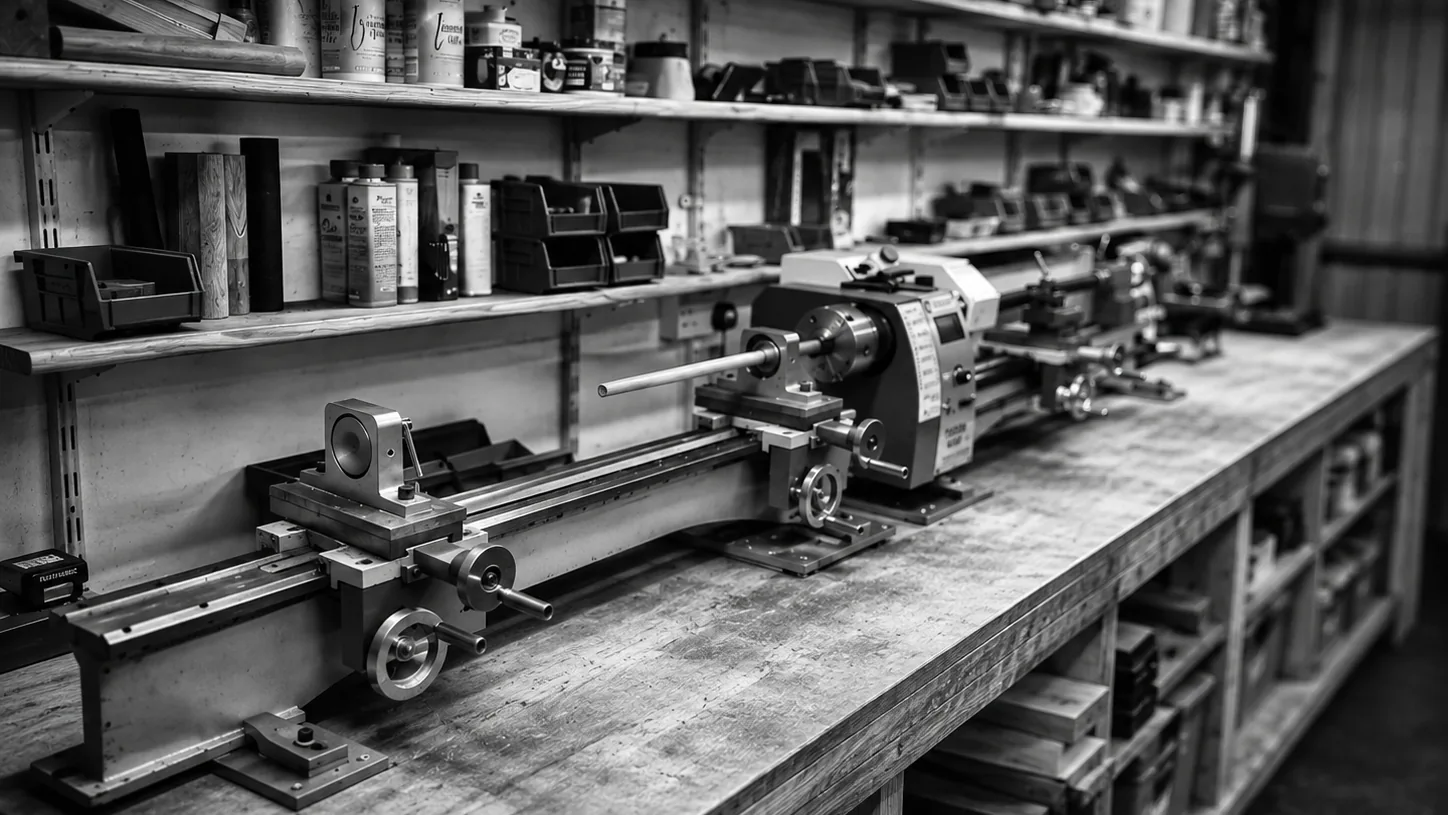
Every cue starts with a series of decisions about timber, shape and feel. Some parts call for machinery; others are best refined by hand. The aim is a cue that works as a whole, rather than a process that looks impressive for its own sake.
This is a small personal workshop, where I make and test cues one at a time. Here is a look at the materials, equipment and choices behind that work.
01 · Materials
Choosing the timber
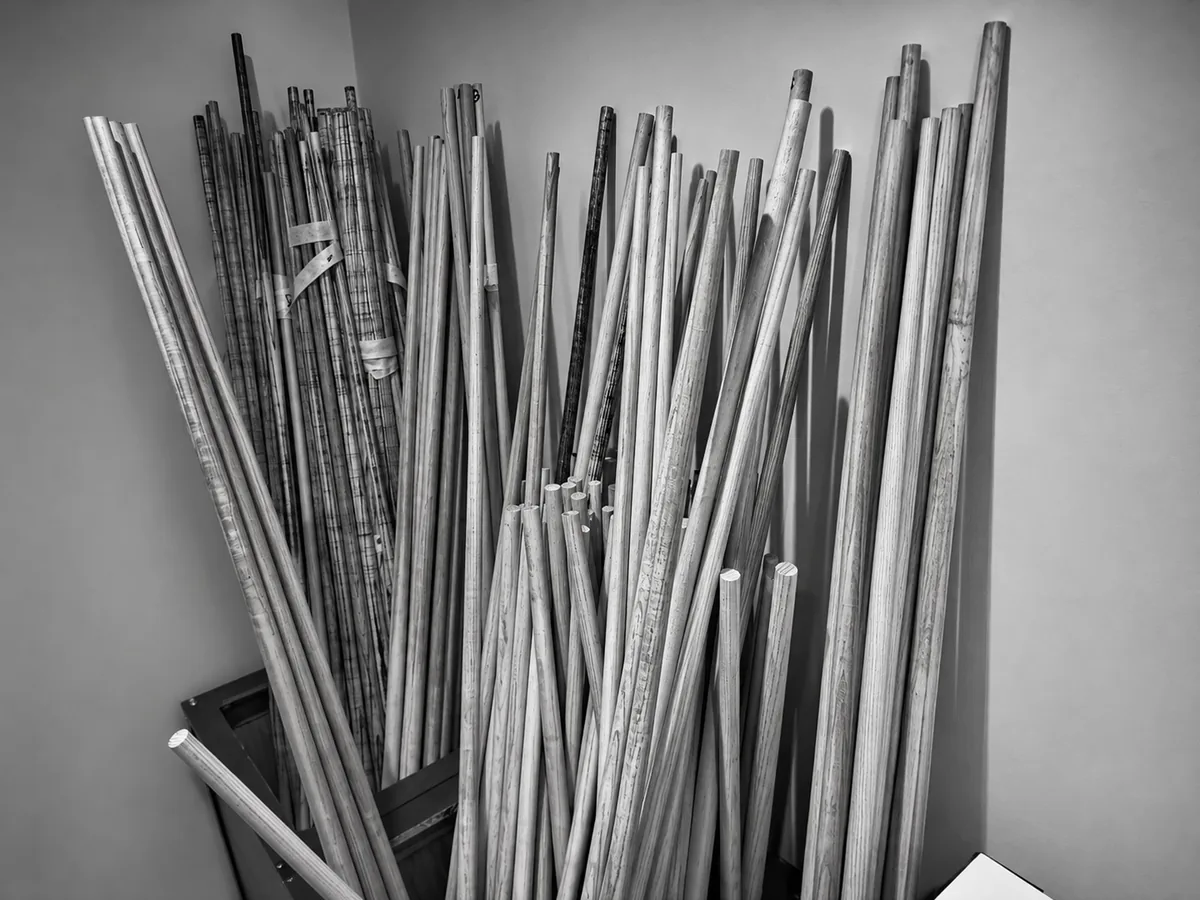
For the shafts, I use high-quality imported oversized ash shafts. They give me a practical starting point for a cue shaft, without first having to turn a large square blank into a long, round piece of timber.
I have tried making shafts from large square blanks by hand-planing them. My rejection rate approached 75%. Starting with oversized shaft stock avoids much of that unnecessary work and lets me concentrate on selecting and preparing the timber for the cue.
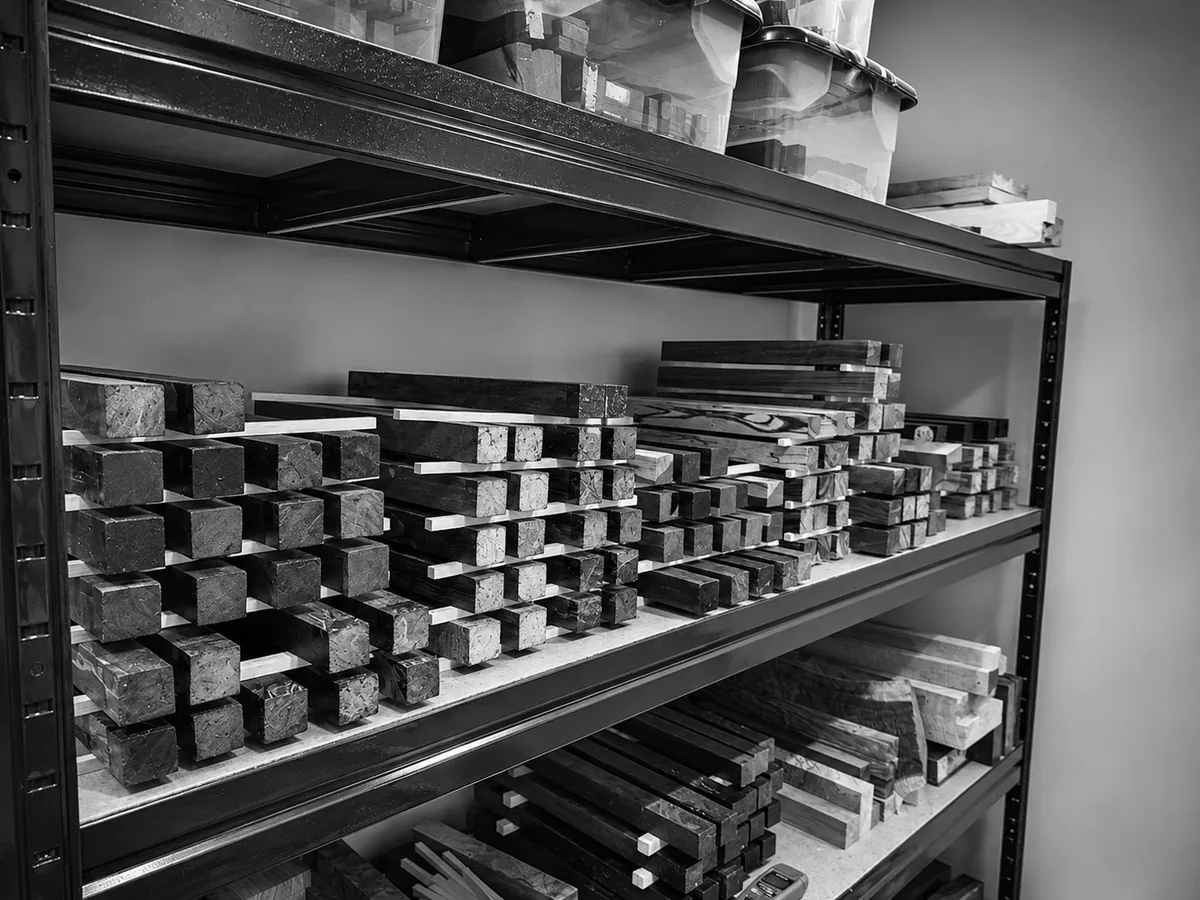
For the butt, I enjoy choosing interesting timbers directly from timber merchants. Appearance matters, but so do density, hardness and durability. The wood has to suit the cue and contribute to the balance I am trying to achieve.
Ebony has a long association with English snooker cues. I also enjoy the range of colours and character found in other decorative hardwoods, selected to work with the overall design.
02 · Gradual preparation
Preparing and shaping the shaft
A shaft isn't taken from an oversized blank to its finished dimensions in a single operation.
I work my shafts progressively over several months, removing timber in stages and allowing the wood to rest between them.
This gives the timber an opportunity to respond as material is removed, with any movement becoming apparent during construction rather than after the cue has been completed.
Seasoning the timber, allowing it to rest and shaping it progressively over several months are all part of that process.
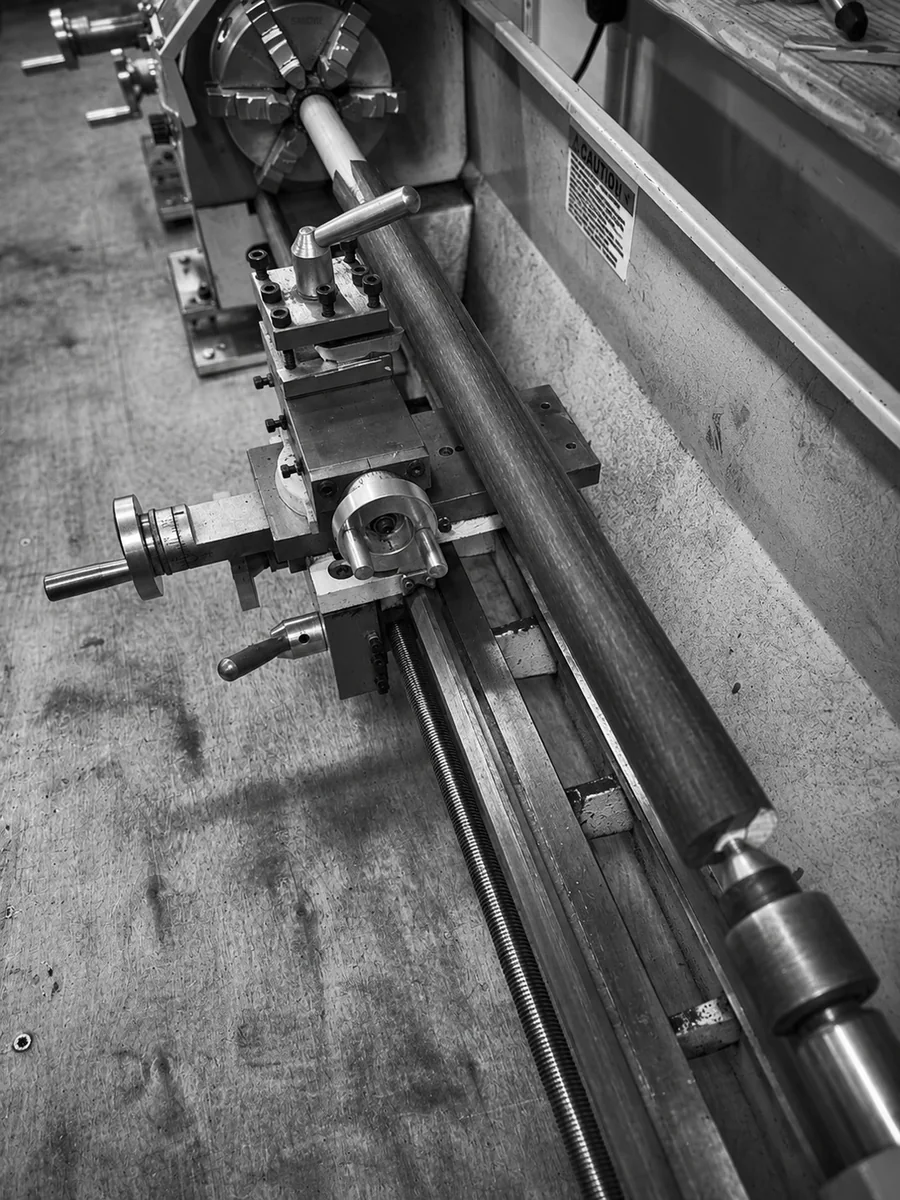
The lathe is used for the initial rough shaping, with a turning tool removing the bulk of the excess timber. Rough sanding on the lathe follows, bringing the shaft progressively closer to its intended dimensions.
There's little sense in spending hours removing that material by hand when properly set-up machinery can do the job accurately and efficiently.
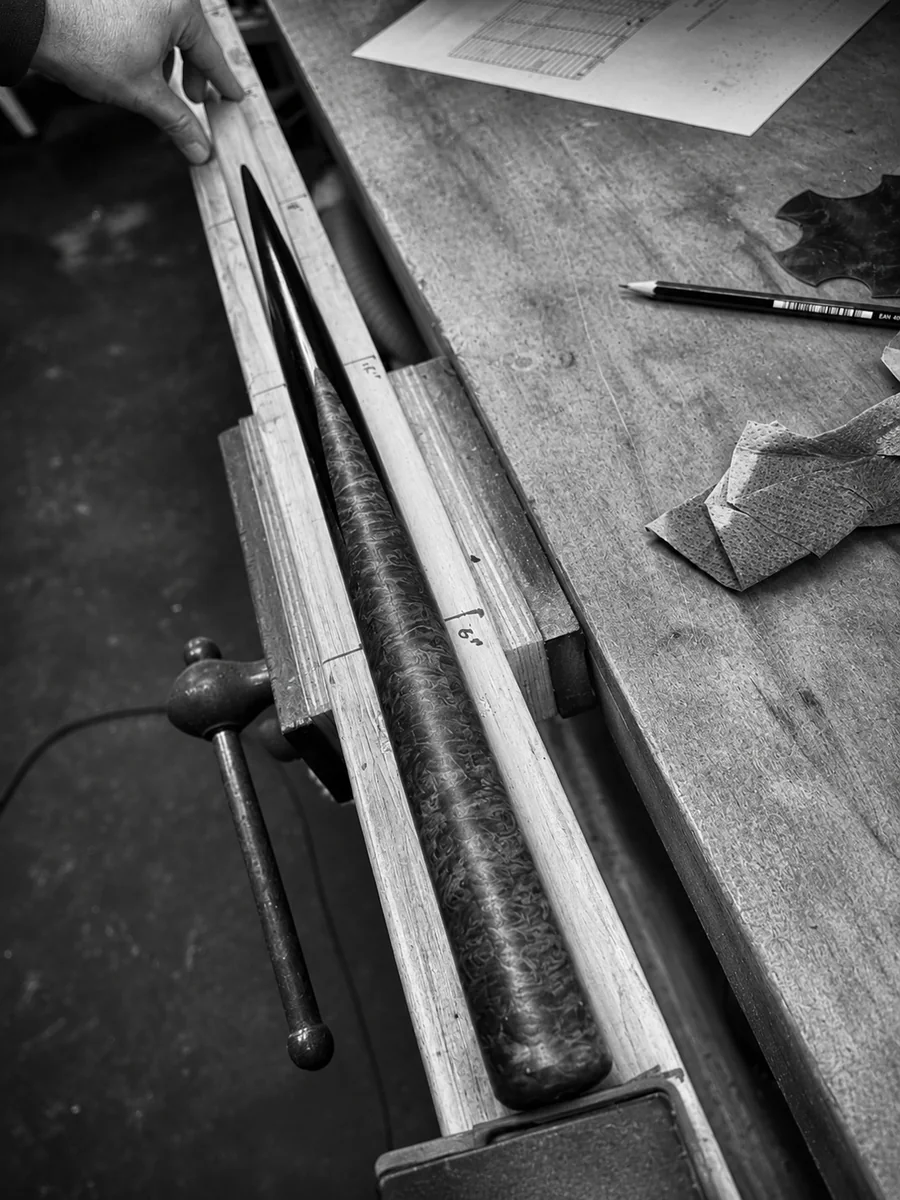
The final preparation is different. Once the shaft is close to its finished dimensions, I use a cabinet scraper followed by careful hand sanding to refine the taper and produce the final surface.
For me, the important skills are knowing how much material to remove, allowing sufficient time between stages and understanding how the timber behaves as the shaft develops.
Patience, careful observation and accurate finishing matter far more than whether every shaving was removed with a hand plane.
03 · Construction and design
Splicing and constructing the butt
The main butt splices are structural parts of the cue. They form the core of the butt construction. Extra splices and veneers can then add further lines, colours and detail to the design.
I make different layouts, including single-facing, four-splice and eight-splice designs. The number of visible points is only one part of the design; the choice of timber and how the pieces sit together matter just as much.
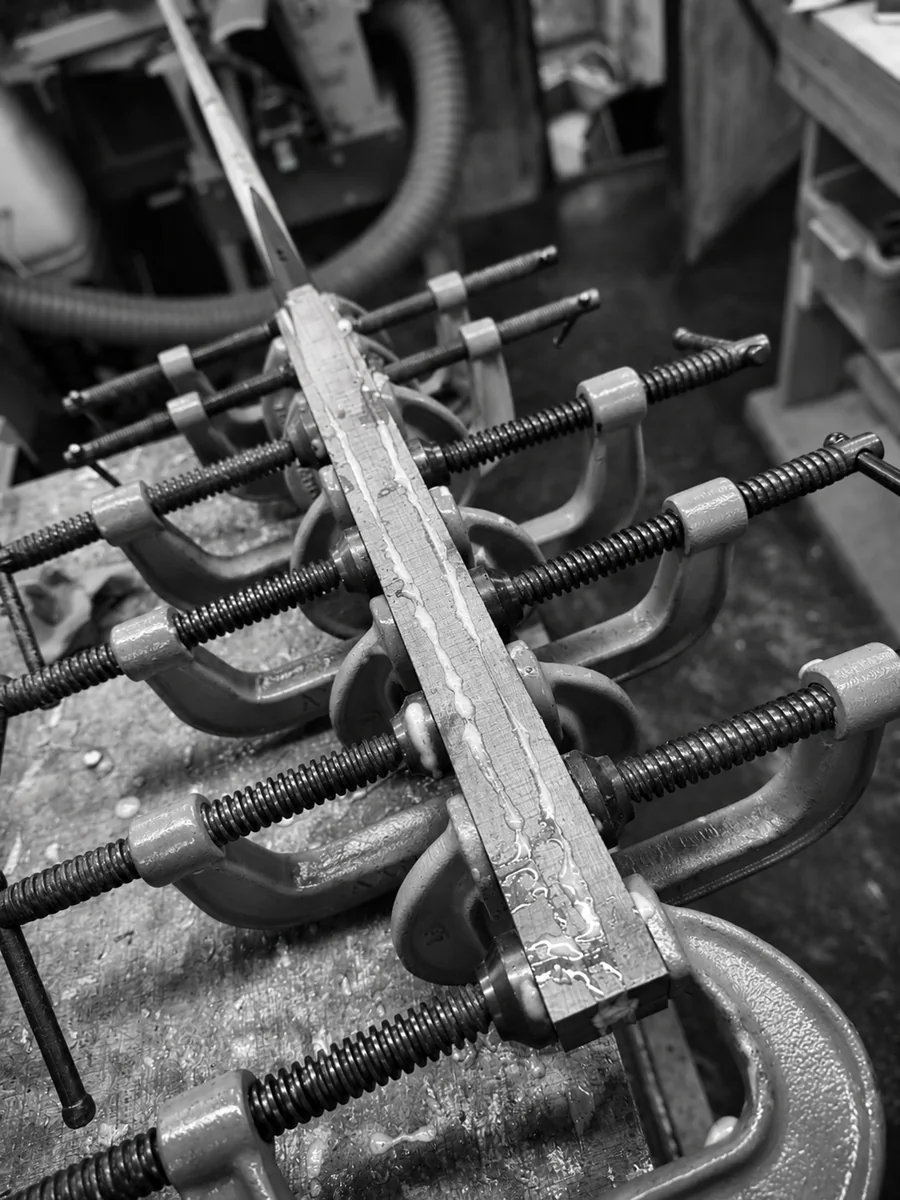
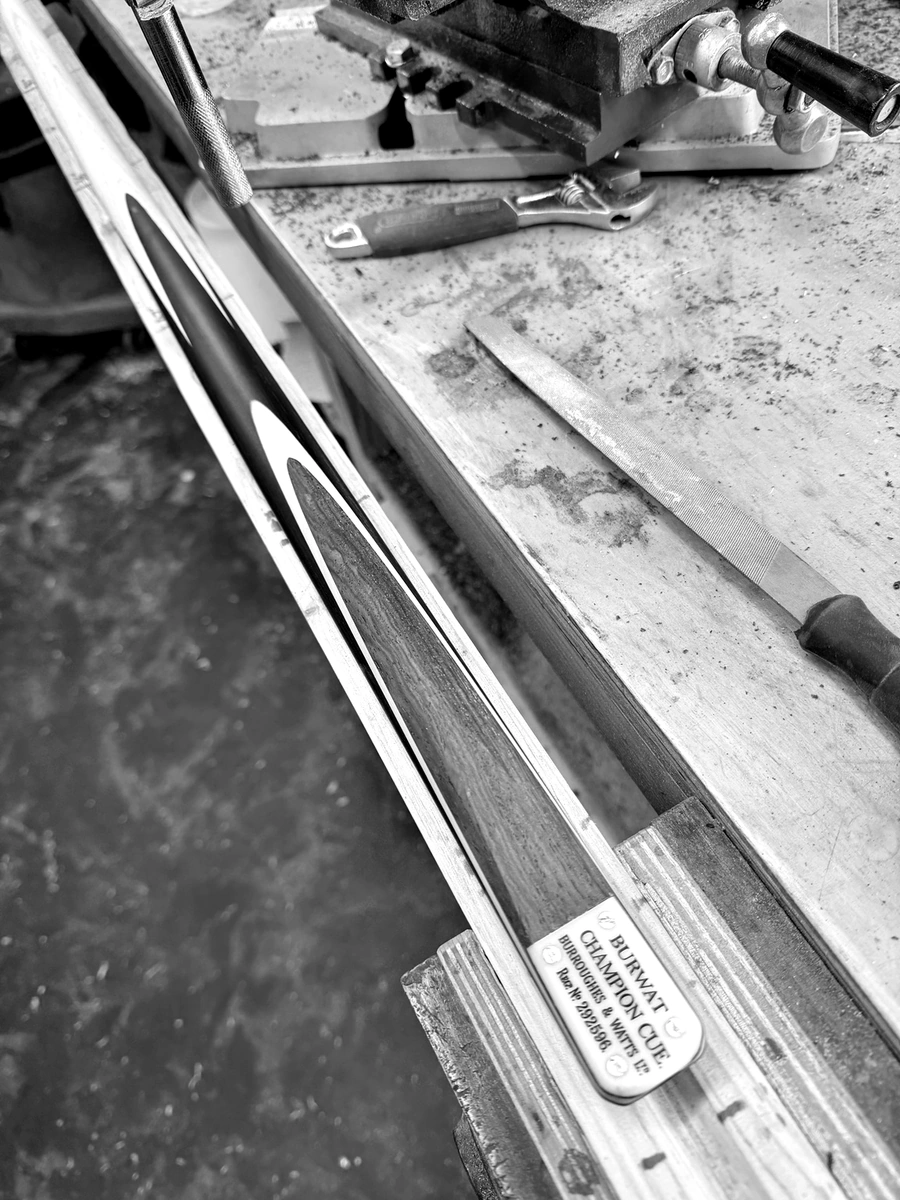
Gluing and clamping are part of bringing those timber pieces together. The photographed example shows a glued length of timber held firmly by clamps during assembly.
04 · The feel of a cue
Weight, balance and the naturally weighted cue
Weight and balance are part of the design from the start. A cue should feel coherent in the hand, with its materials and construction working together.
Where needed, I can incorporate lead beneath the main butt splices to reach the intended weight and balance. A naturally weighted cue takes a different approach, allowing the selected timber and construction to provide the weight without added lead.
Many conventional ebony-butt snooker cues would be around 16 ounces or less without added lead, unless particularly thick in the taper.
05 · Tools and technique
Precision work and workshop equipment
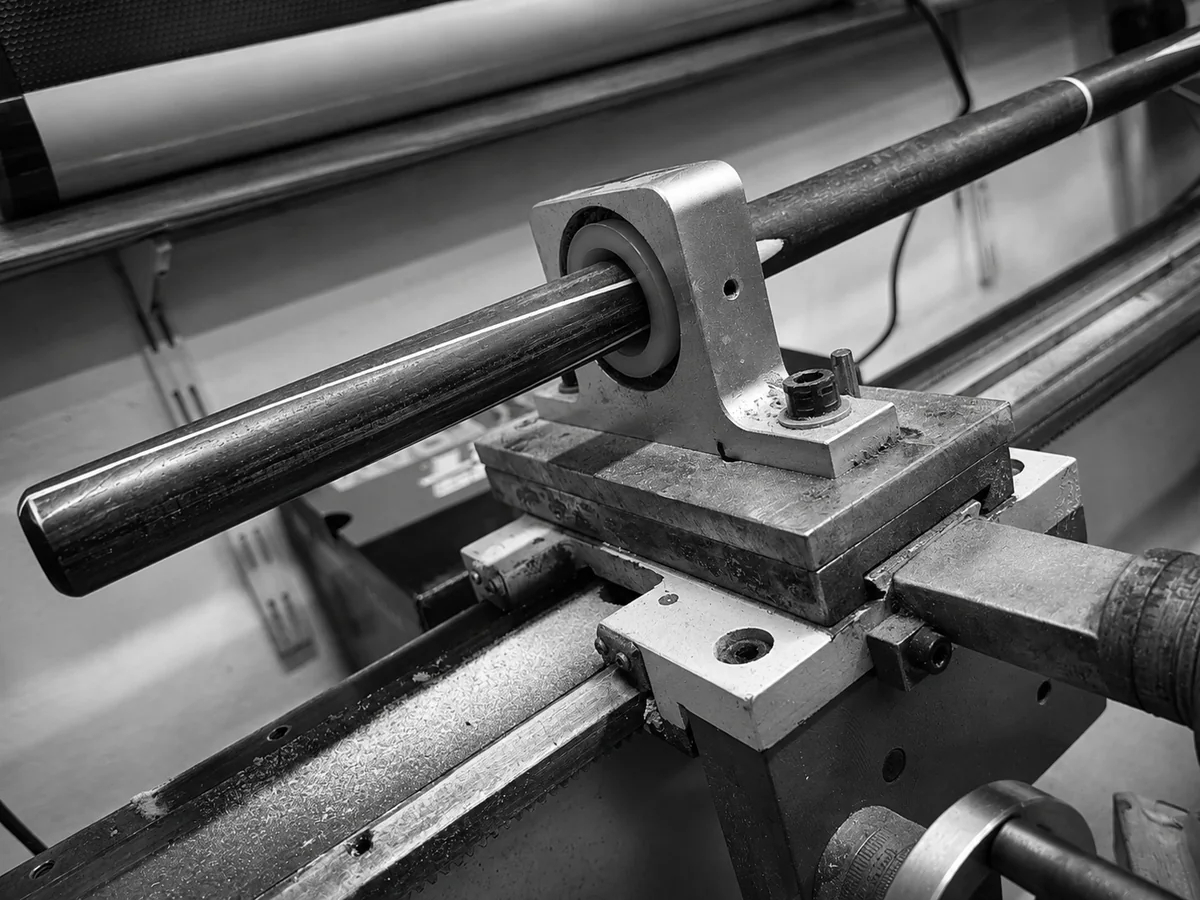
The lathe is used for much more than the early stages of shaft preparation. It also helps me with jointing three-quarter cues, fitting butt joints, fitting ferrules and other appropriate precision turning and fitting operations.
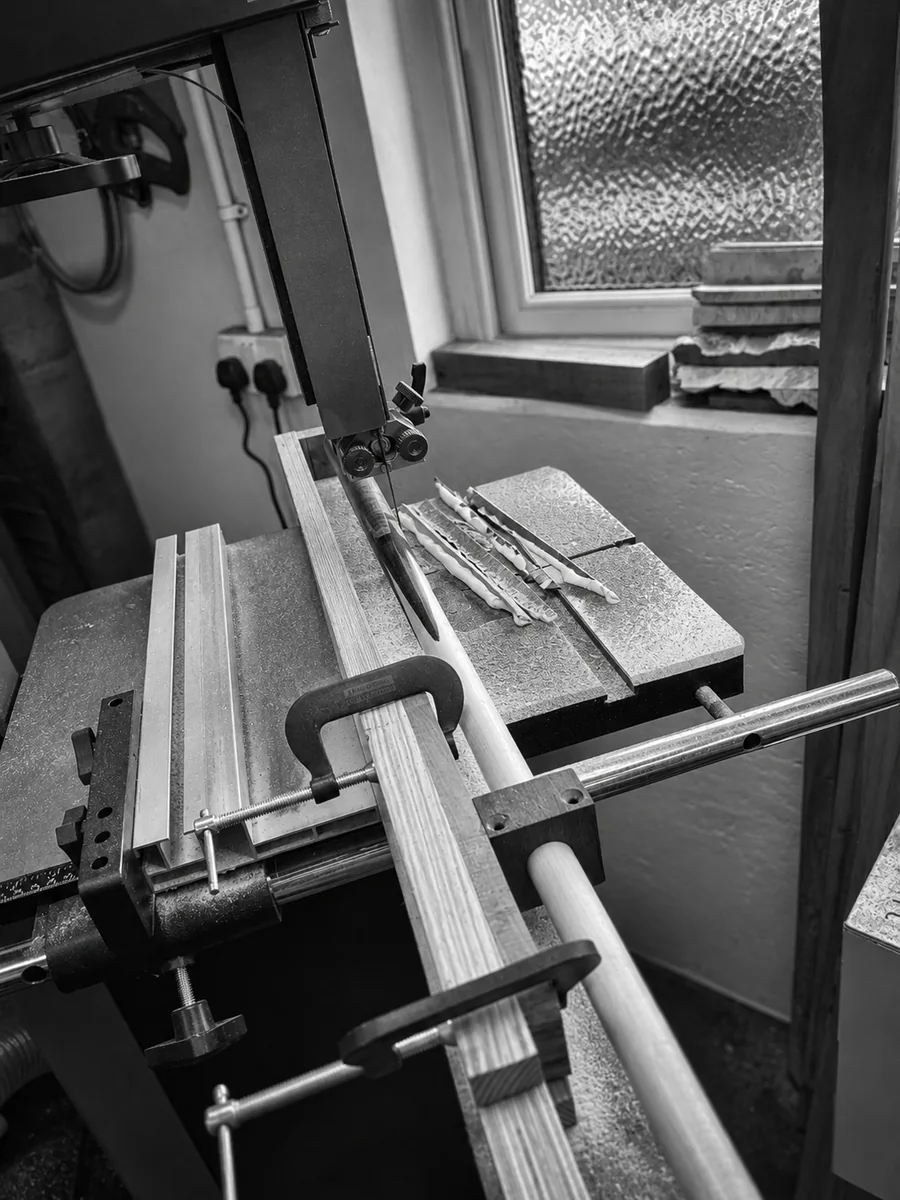
I use jigs and fixtures where they help support the work and make a process more repeatable. Traditional hand tools and machinery complement one another. The right method is the one that produces the best result.
Used carefully, machinery can make a job more accurate and efficient. Hand tools remain valuable for the stages where feel and fine control matter.
06 · Surface and character
Finishing the cue
The finish is chosen to suit the cue and the character of its timber. There is no single finish that is right for every piece of wood or every design.
Depending on the cue, I use or consider oils, waxes, polyurethane finishes and French polish. Each gives the surface a different look and feel, so the choice is part of completing the cue rather than an afterthought.
The final preparation also brings together the shaping and surface work: the aim is a clean, consistent finish that lets the wood and the cue's construction speak for themselves.
07 · From the bench to the table
Testing and final checks
I test my cues repeatedly on my own snooker table as I make them. Playing with a cue during construction gives me a chance to judge how the work is coming together, rather than leaving all of that until the very end.
I test each cue again before dispatch. The cue has to work on the table as well as look right in the workshop.
When you want to see examples of completed cues, visit the Handmade Cue Gallery. The Old Cues Archive shows some of the antique cues that helped shape my interest in cue-making.
From the workshop to the table
From the workshop to the table
That's the process in broad terms: choosing the materials, working them gradually, using the tools that suit each stage and testing the result on the table.
To see the cues themselves, browse the Handmade Cue Gallery or the Old Cues Archive. For a question about a cue currently available, visit Cues Available.